

You imagine your dream pool
We take care of everything else
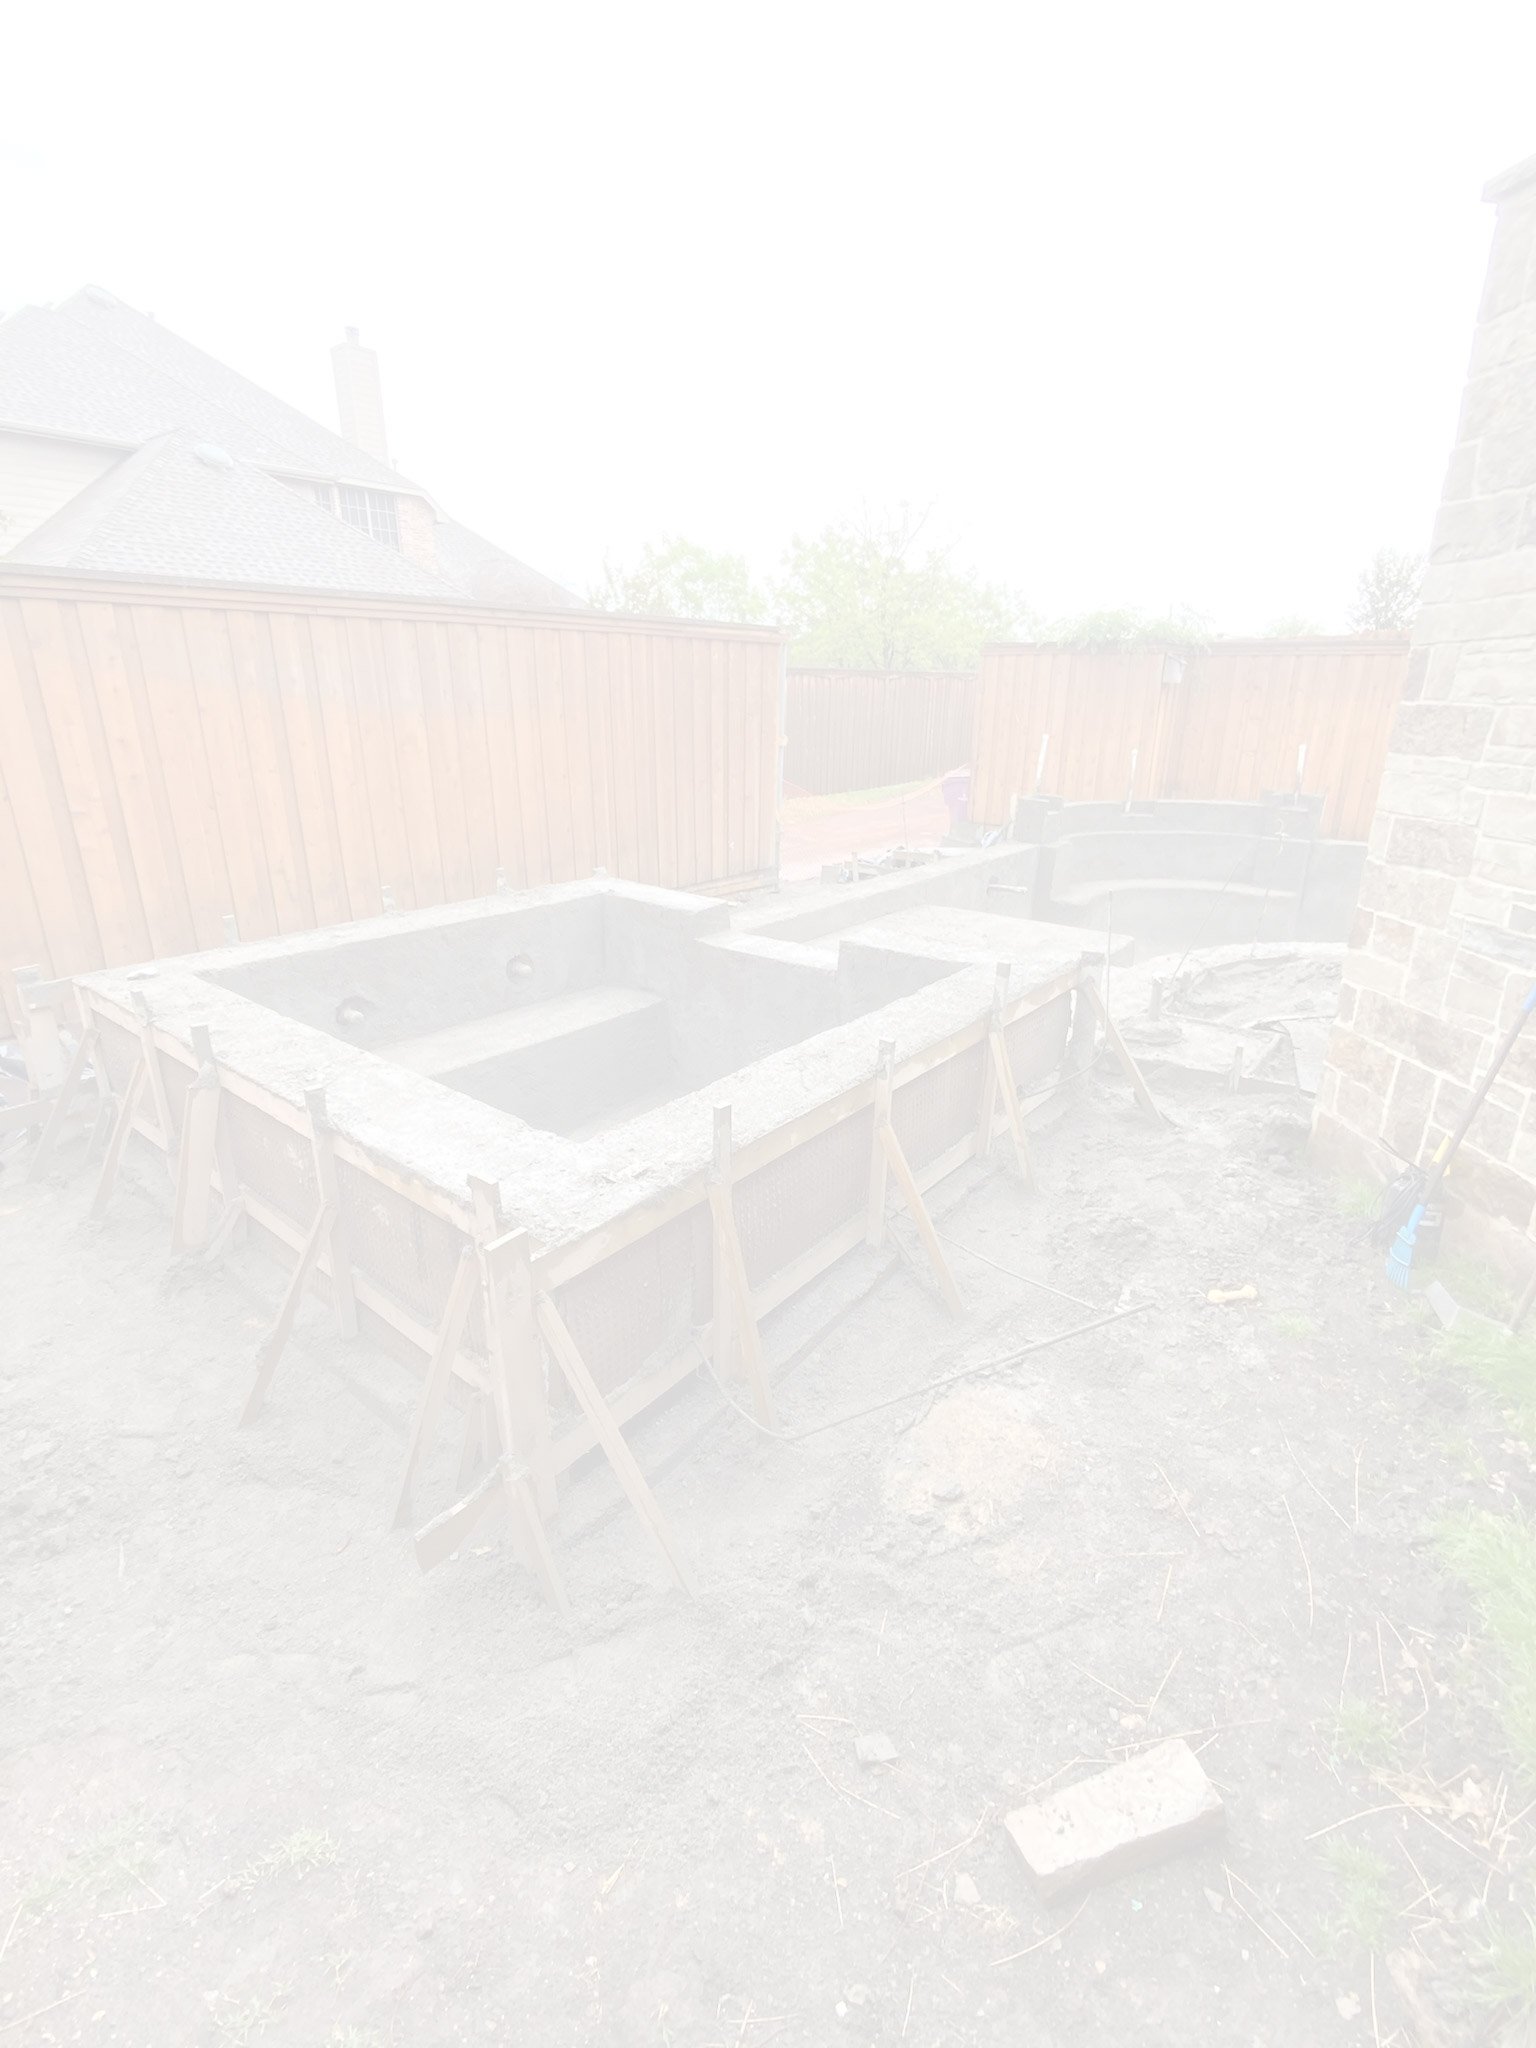
How the Process Works

Step 1: Schedule a Consultation
During this meeting we’ll take a look at your property and make sure your pool dreams can happen! We’ll also talk about your design preferences, share a bit of pool knowledge, and discuss budget as well.

Step 2: The Design Phase
We’ll mock up your pool and send the design over for approval. (Don’t worry! You can make a few changes so we get it just right). Once that is approved and perfect, we will start the quoting process.

Step 3: Here’s the Quote
Once we have the perfect design we’ll send a quote your way. We can share a few resources for funding at this point as well. Then we get started with the fun stuff.

Step 4: Time to Build
Don’t worry about a thing. We’ll take care of everything from construction design to permits, then breaking ground to project completion. We’ve got this part covered.
Once construction begins, here's exactly what happens on your property.
What to Expect During Construction
Building a custom pool is exciting, but we know it can also feel like a big project. Our team keeps you informed through each phase so you know what to expect from start to finish. While every backyard is different, most gunite pool projects follow the steps below.
Phase 1- Excavation
This is where your pool starts to take shape. Heavy machinery is used to dig out the soil based on the approved design, depth, and layout of your pool. Once the main excavation is complete, the crew hand-shapes the walls and floor to prepare the space for the steel and gunite shell.
The excavated area is slightly larger than the finished pool size to allow room for the steel reinforcement and concrete structure.
Typical timeline: 1 day

Phase 2 - Steel Rebar Reinforcement
Next, steel rebar is placed throughout the excavated pool to create the structural framework of the shell. This steel reinforcement acts as the skeleton of your pool and gives the gunite shell the strength it needs for long-term durability.
The rebar is carefully positioned and raised off the ground so it sits properly within the concrete once the gunite is applied.
Typical timeline: 1 day

Phase 3: Plumbing & Electrical Rough-In
Before the gunite shell is applied, the plumbing and electrical components are installed. This may include main drains, skimmers, return lines, spa jets, and electrical conduit for pool lights and other features.
This phase is important because these systems are built into and around the pool structure before the concrete shell is formed.
Typical timeline: 1 day
Inspection: City inspection is typically required

Phase 4: Gunite Application
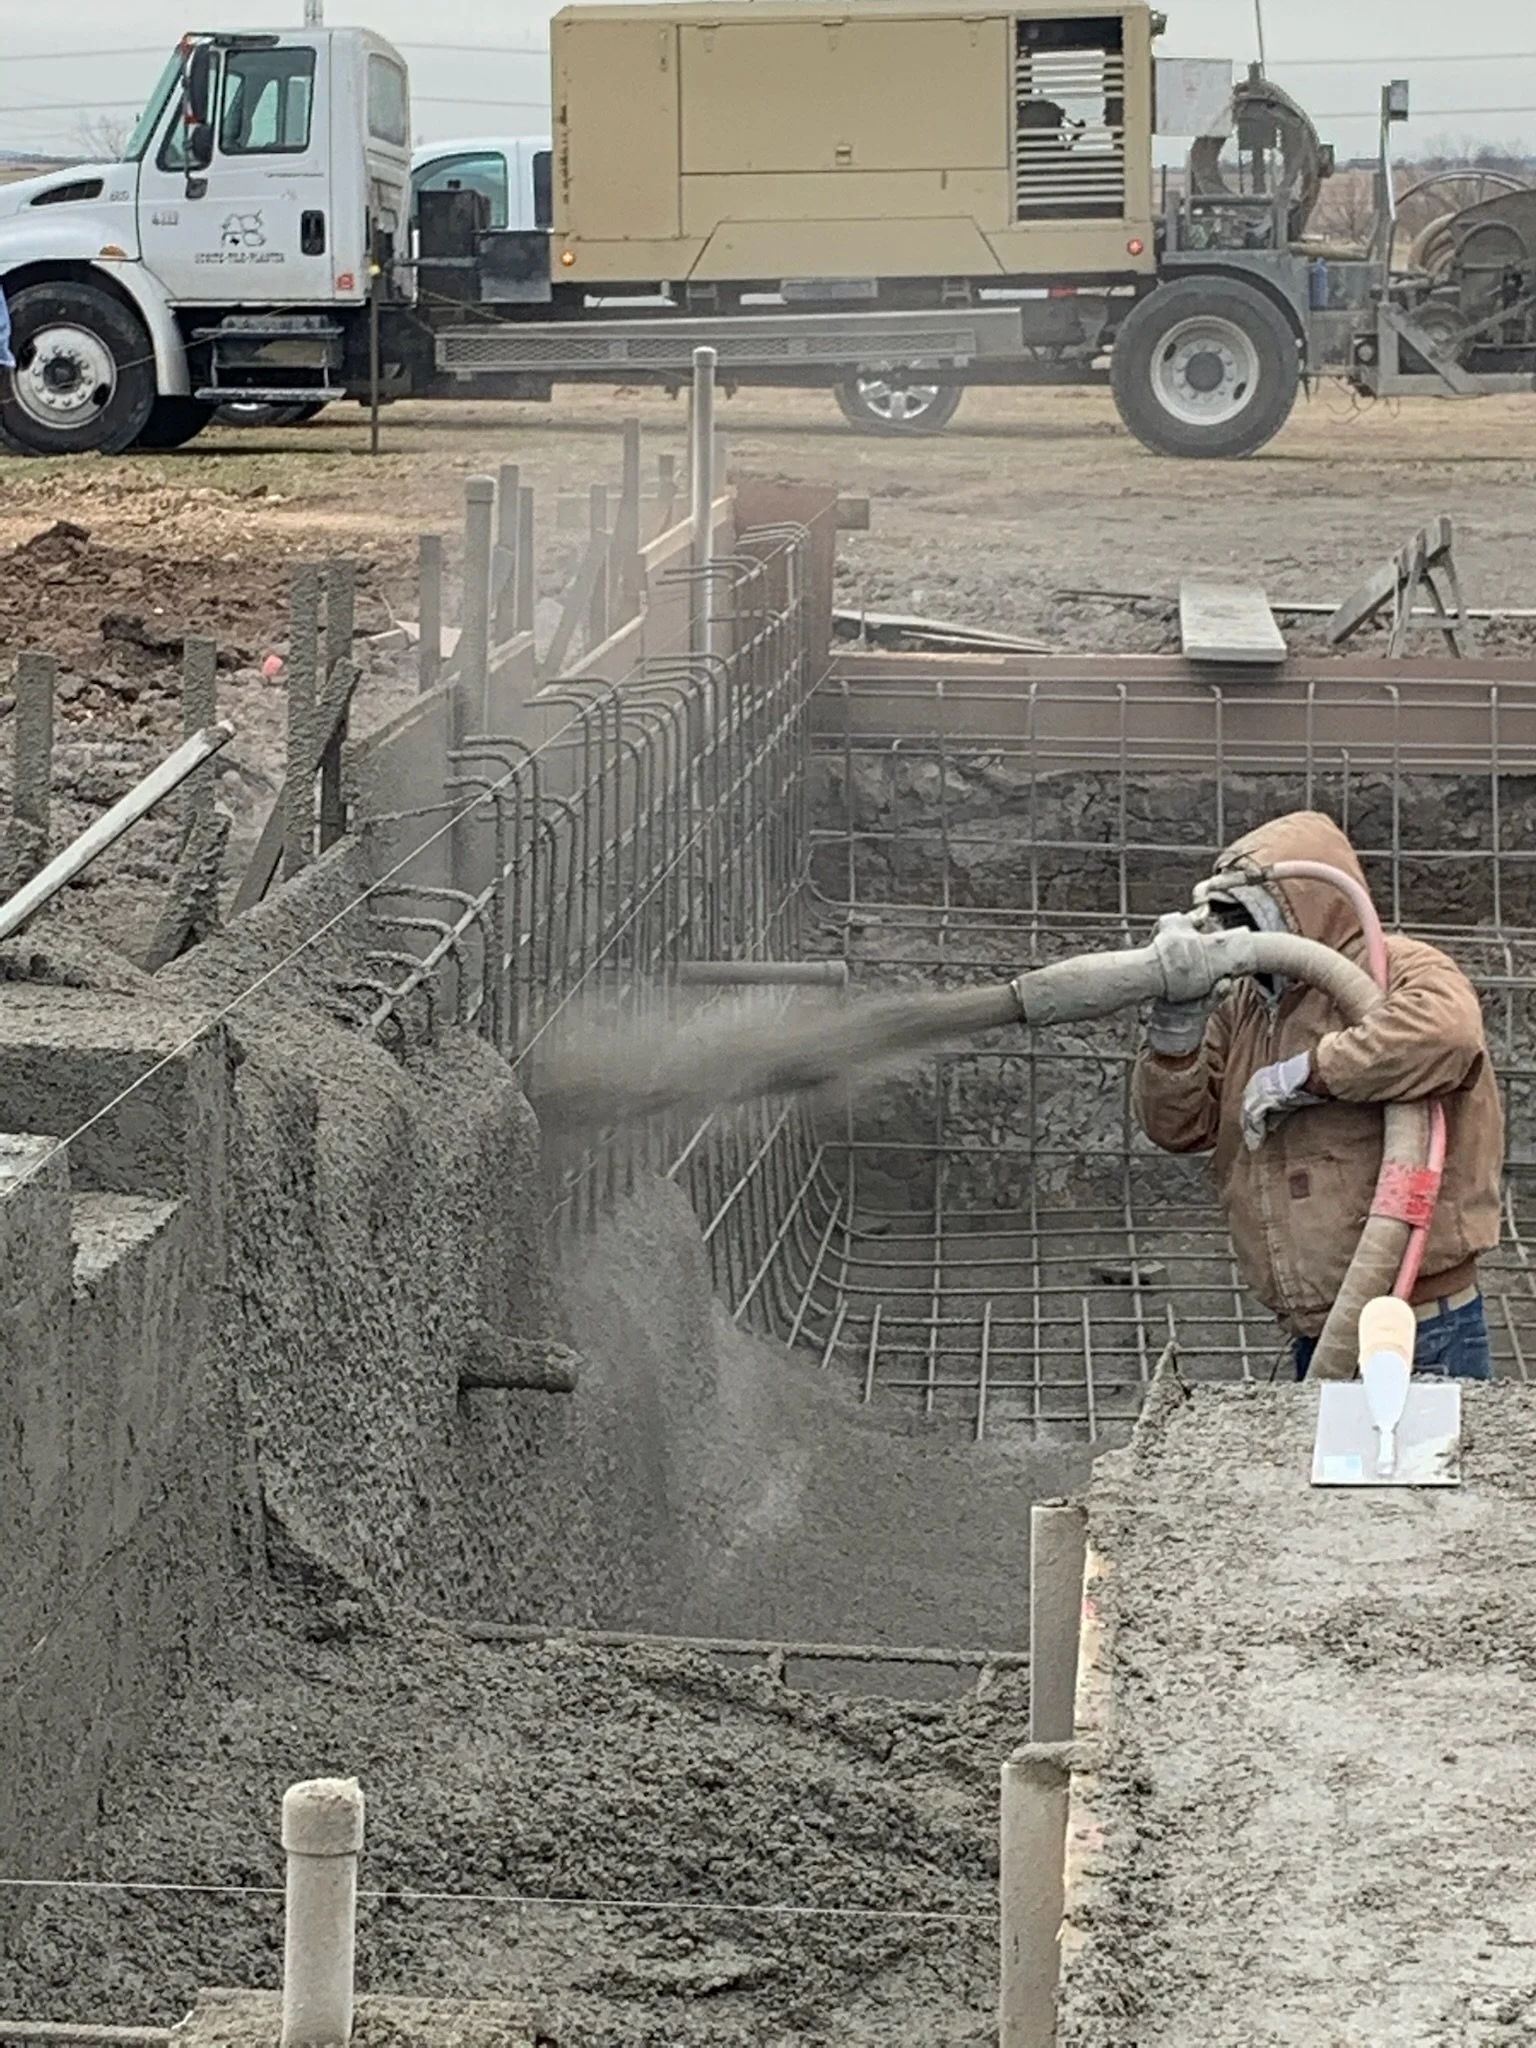
Gunite is the concrete material that forms the strong, permanent shell of your pool. During this phase, the gunite crew sprays the material over the steel framework using specialized equipment.
Skilled craftsmen then shape the walls, steps, benches, tanning ledges, and other custom features by hand. This is the stage where the structure of your pool really begins to look and feel like the finished design.
Typical timeline: 1 day
Phase 5: Curing Process
After the gunite is applied, the pool shell needs time to cure. Curing is different from simply drying — it is a chemical process that helps the shell reach its full strength.
The full curing process takes approximately 28 days. During the first 7 to 14 days, the shell will need to be watered regularly to help keep it hydrated and reduce the risk of cracking. We will walk you through exactly what to do during this stage.
Typical timeline: Approximately 28 days
Homeowner involvement: Watering the shell 2–3 times per day early on

Phase 6: Tile & Coping
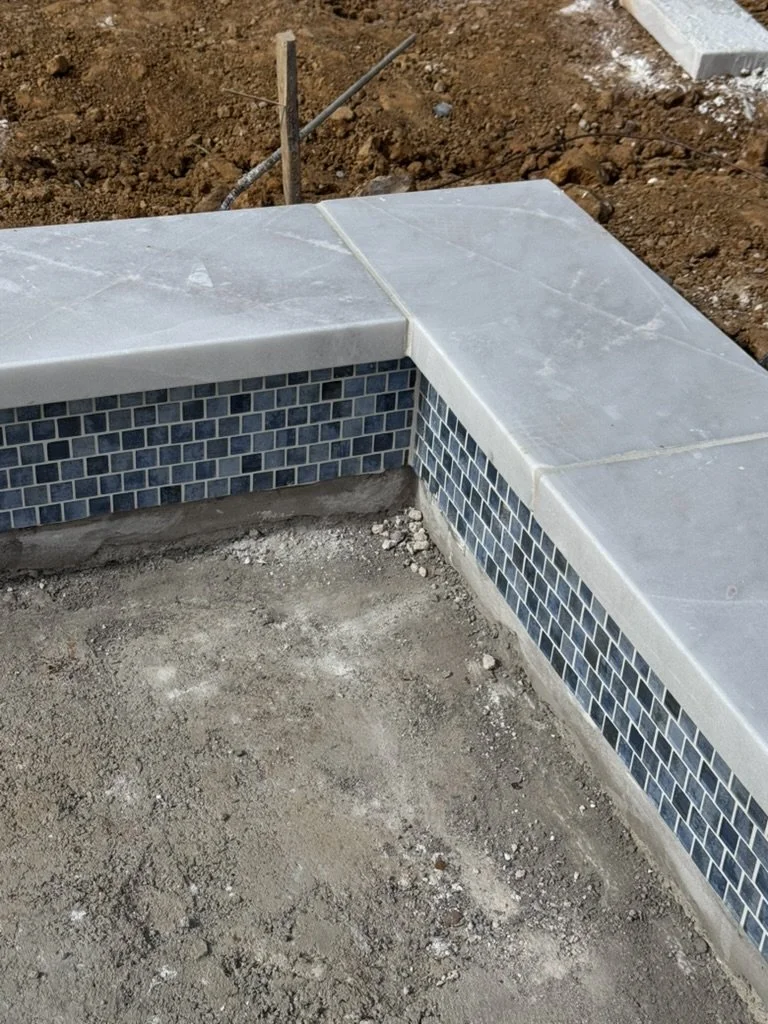
Once the shell has cured, the waterline tile and coping are installed. Tile gives the pool a finished look at the waterline, while coping forms the edge or border around the pool.
This is one of the stages where your design selections really start to come together and the pool begins to reflect your personal style.
Typical timeline: 2–7 days, depending on project complexity.
Phase 7: Decking
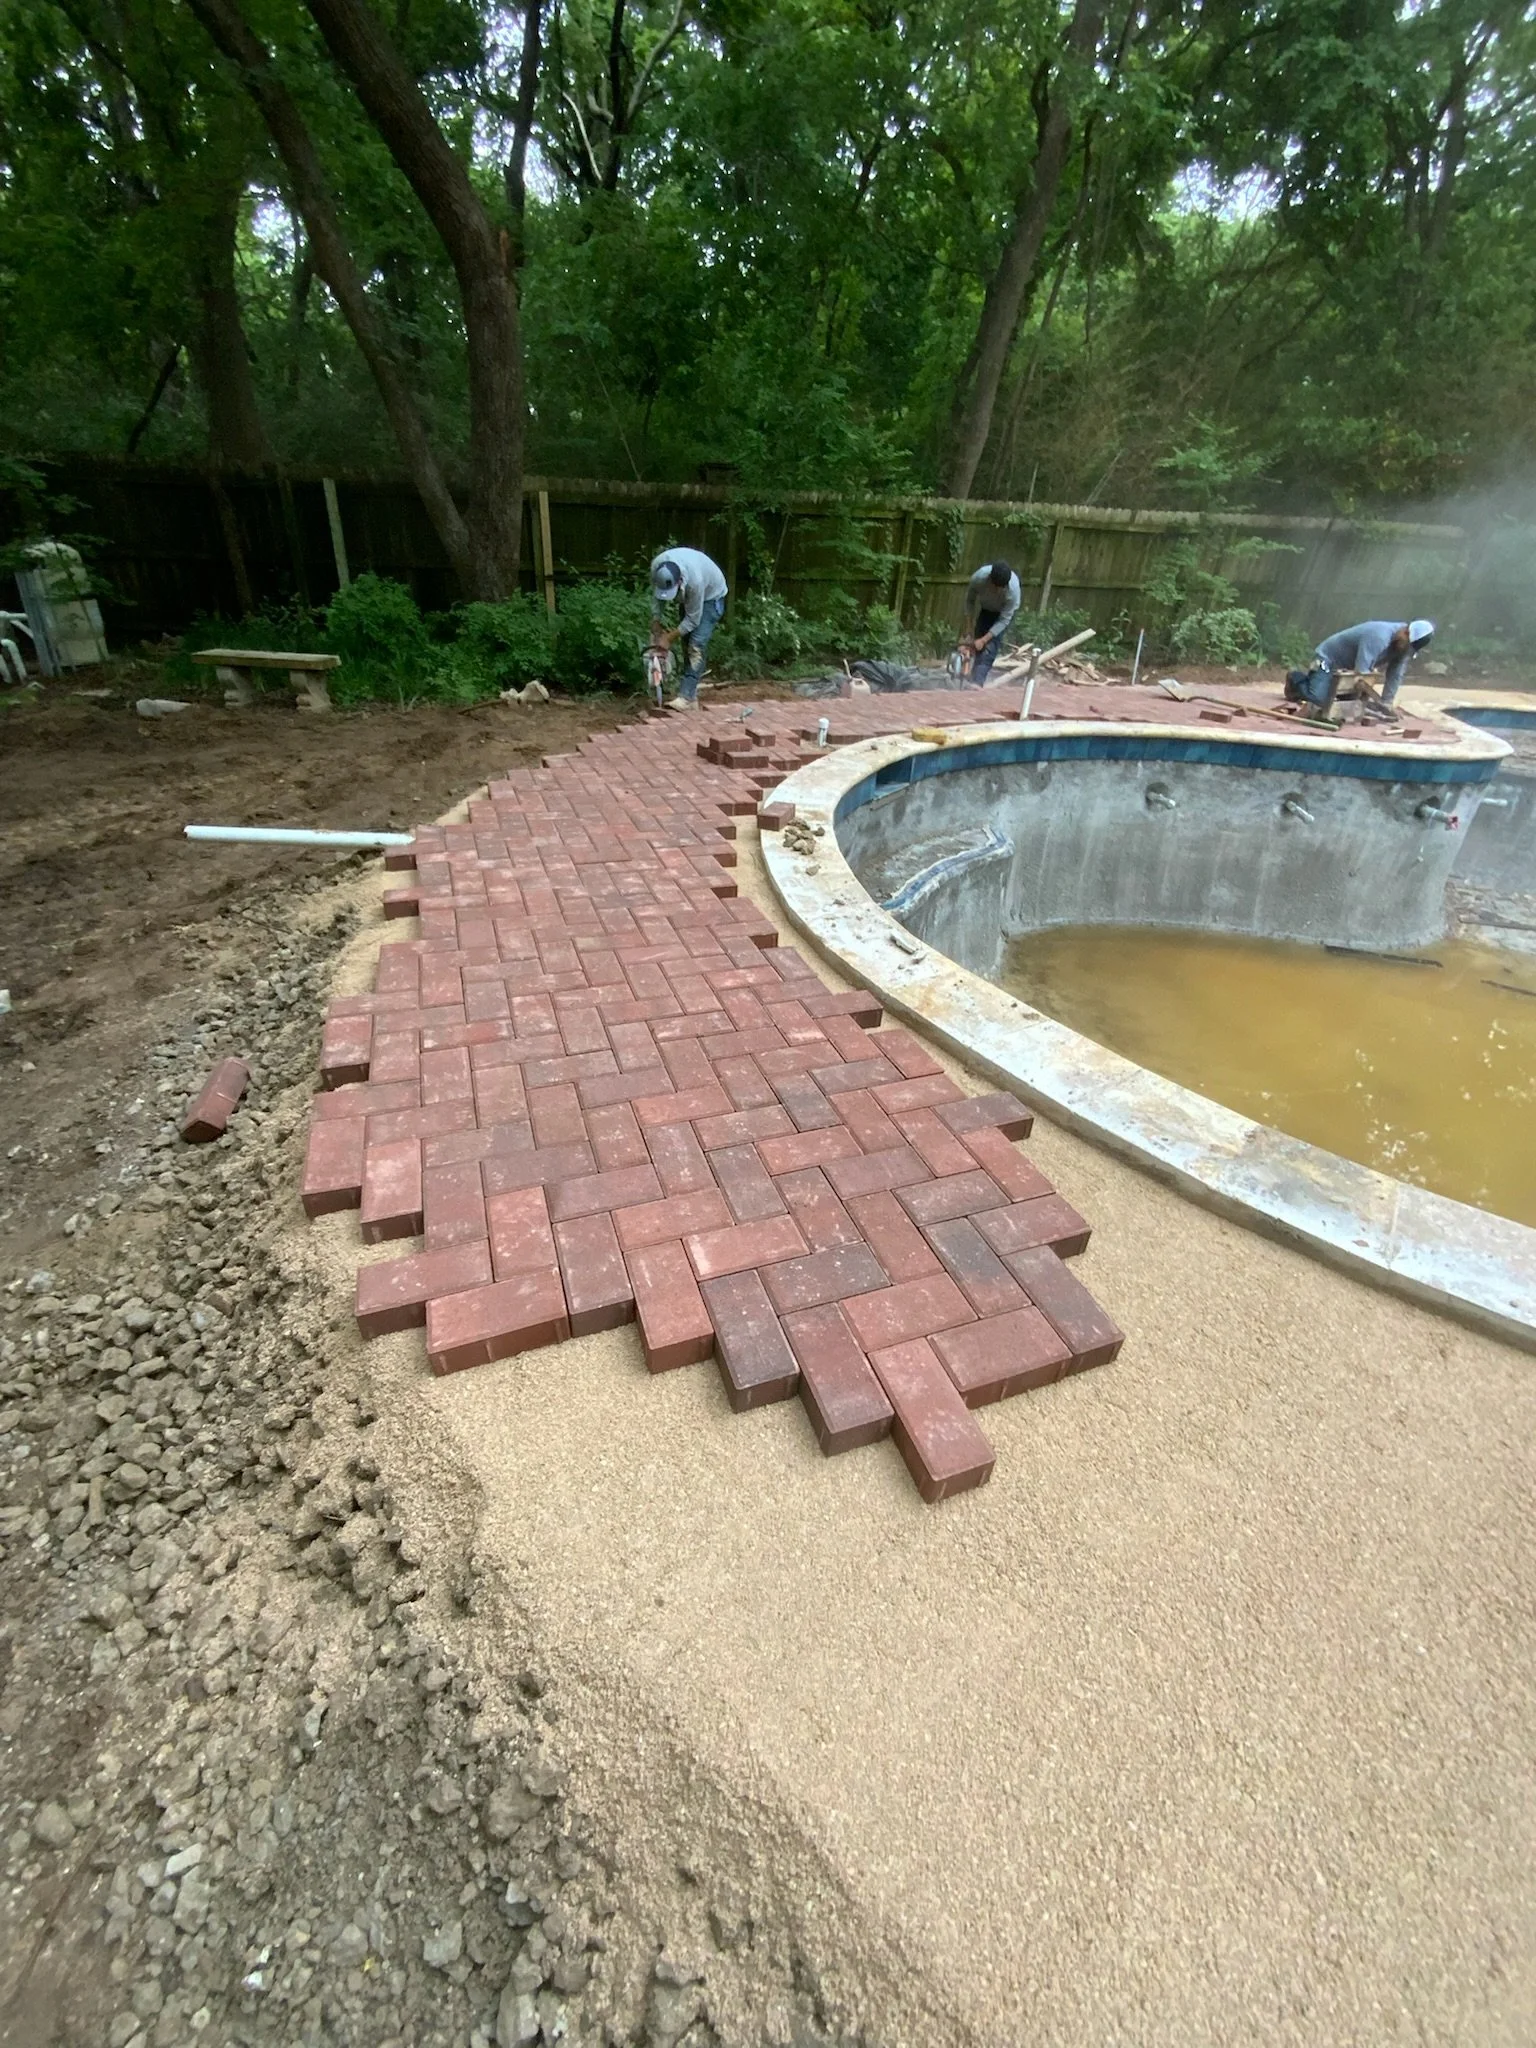
After tile and coping, the surrounding deck or patio area is prepared. Forms are set, steel reinforcement is placed, and the decking area is prepared for concrete, pavers, or the selected decking material.
Decking helps define the usable space around your pool and plays a big role in the overall look and function of your backyard.
Typical timeline:
Step 1 - Form setup and rebar: 1–2 days
Step 2 - Pouring or installation: 1 day
Inspection: City inspection may be required
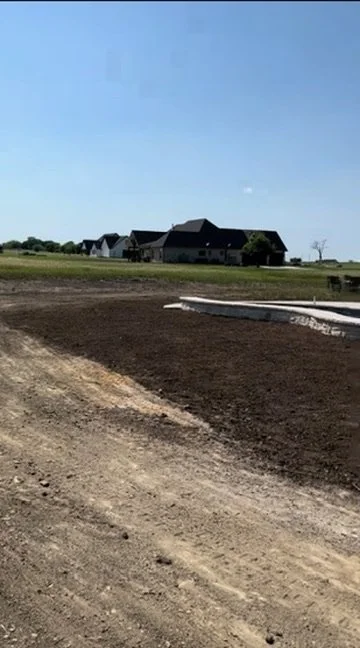
Phase 8: Cleanup, Grading, & Irrigation
As the pool and decking near completion, attention shifts to the surrounding backyard. This phase may include cleanup, grading, irrigation adjustments, and preparing the space for the final pool finish.
The goal is to transition the construction area back into a usable backyard and make sure the surrounding space is ready for the final steps.
Typical timeline: 1–4 days
Phase 9: Interior Finish & Fill
The interior finish is one of the final and most exciting steps. This may include plaster, quartz, pebble, or another selected finish. Once applied, the finish is completed and prepared for filling.
Depending on the finish, an acid wash may be completed the following day. After that, the pool begins filling with water. Once filling begins, it is important that the water continues running until the pool reaches the proper level.
Typical timeline:
Interior finish application: 1 day
Acid wash and start of fill: following day

Phase 10: Mastic
Mastic, also called expansion joint sealant, is the flexible waterproof seal placed between the pool coping and the surrounding deck. It may also be used where the pool deck meets the home’s foundation or other hard surfaces.
While it may look like a simple finishing detail, mastic plays an important role in protecting your pool and deck by allowing for natural movement while helping keep water out of the joints.
Typical timeline: 1 day
Dry time: Approximately 24 hours before foot traffic
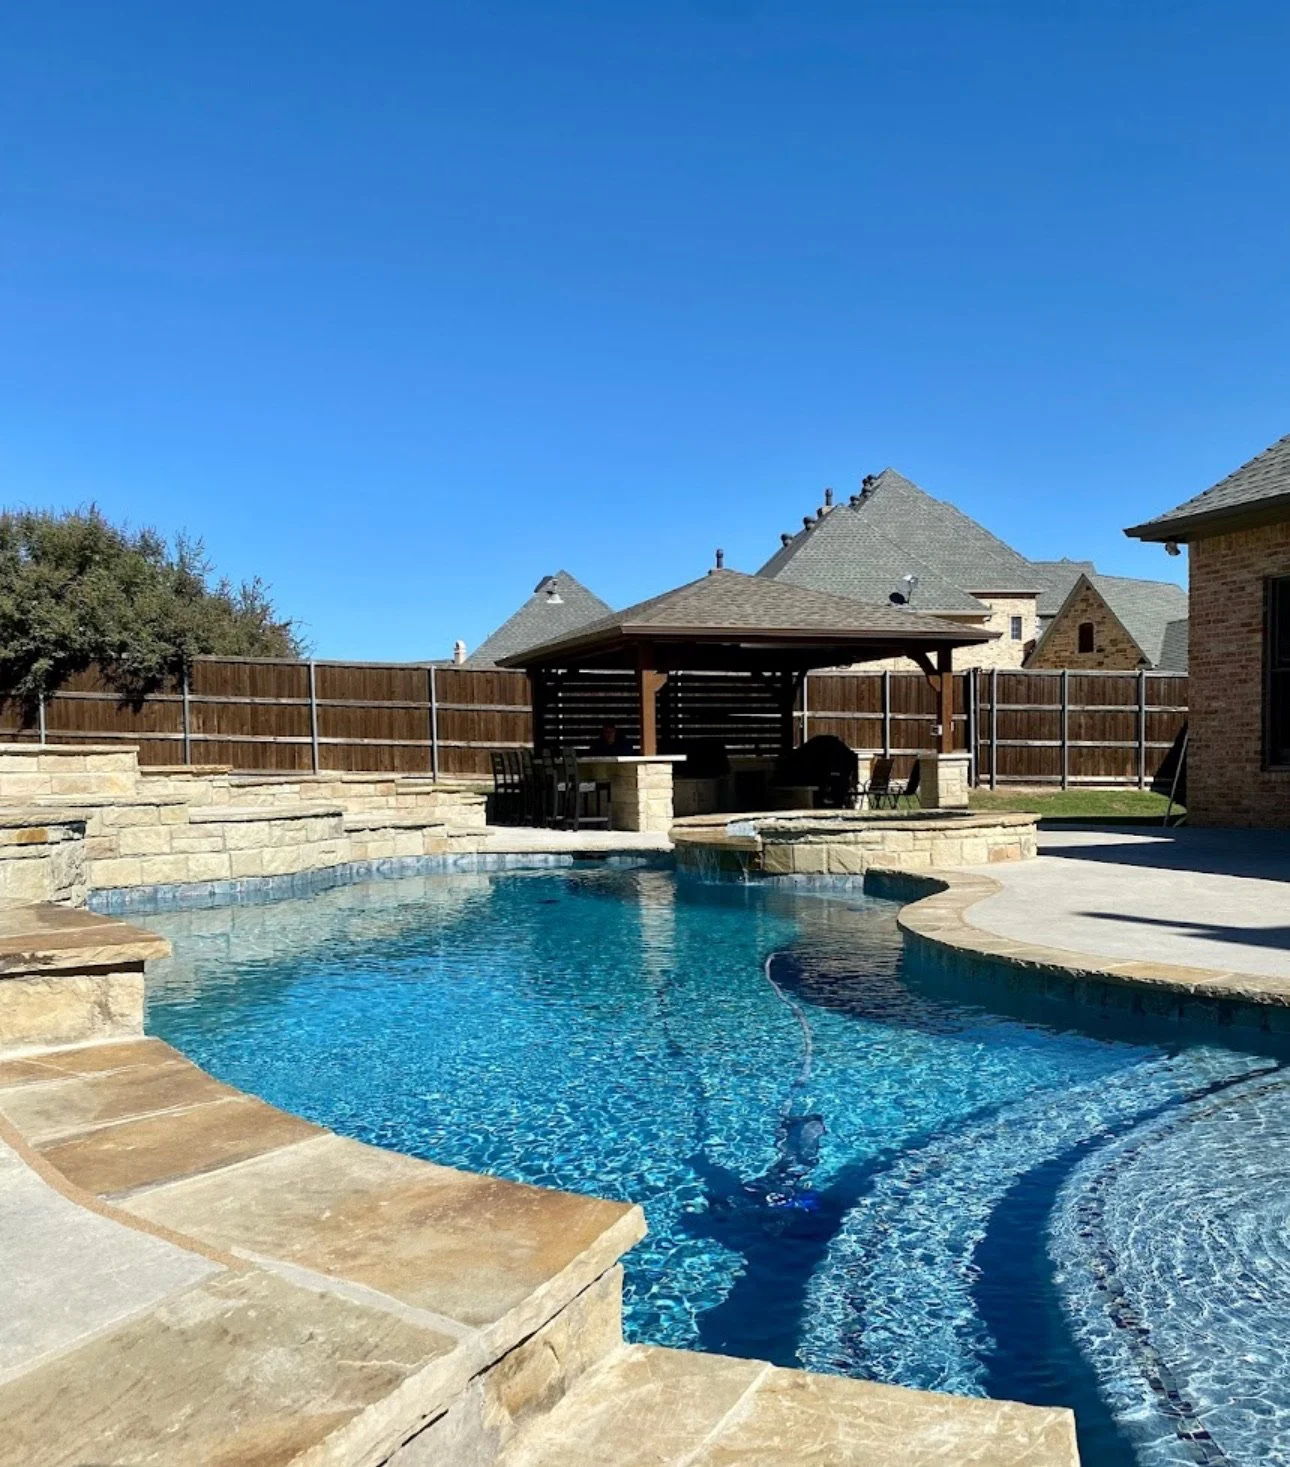
From start to finish the construction process averages between 8-12 weeks. However, every backyard and project is a little different, so timelines can vary based on weather, inspections, material selections, project complexity, and city requirements. Our goal is to keep you informed throughout the process so you always know what is happening, what comes next, and what to expect as your dream pool comes to life. If you are looking for ideas, view some of our featured projects.

A Local Team You Can Trust
Sunset Pools of North Texas is a family-owned pool builder serving Denton County and surrounding North Texas communities. With over 15 years of experience, we guide homeowners through the pool building process with clear communication, quality craftsmanship, and personal attention from start to finish.
Learn more about us.
Frequently Asked Questions
Do I need a permit?
Permit requirements depend on where your property is located. If your home is within city limits, a pool permit is typically required before construction can begin. If your neighborhood has an HOA, approval is usually required as well.
For properties located outside city limits in county areas, permits are generally not required. During the planning process, Sunset Pools can help guide you through what is needed based on your location and project.
How much does a pool cost in North Texas?
The cost of a custom pool can vary depending on the size, design, materials, features, and overall scope of the project. Elements like spas, tanning ledges, water features, decking, retaining walls, outdoor living areas, and equipment selections can all impact the final investment. Base pools start around $85K, however, projects typically range between $90K-$150K depending on scope.
I got a ton of quotes and they’re all different. How do I know who to go with?
Don’t worry, we see that a lot and we actually recommend talking to a few companies (you want to feel comfortable with your pool builder). However, there are a few reasons why quotes can vary - and we’ve seen it all. We’re happy to go over quotes to help you make sense of the process.
How long does construction take?
This can vary a bit depending on time of year (rain in the Spring or freezing temperatures in the Winter can slow things down). Right now, we expect it to take from 8 to 12 weeks.
How do I finance this project?
While that decision is up to you and what’s best for your family, we have seen a few options. Some customers refinance and some take out a construction loan. Two of the lenders that we often work with are Lyon Financial and Certified Funding.
I want an outdoor kitchen, can you help with that?
Yes! We love to complete our custom pools with outdoor kitchens, fire pits, and other details to make your backyard an extension of your home. Be sure to mention all of your ideas in your consultation meeting and we can include those in the process.
What area do you serve?
We serve Denton County and surrounding areas including: Denton, Frisco, Aubrey, Pilot Point, Sanger, Argyle, Krum, Ponder, Justin, Little Elm, Shady Shores, Lake Dallas, Highland Village, and Corinth. Don’t see your area listed above? Reach out to us and we’ll let you know how we can help.
Do you offer recurring pool maintenance?
Yes. Sunset Pools offers recurring pool maintenance to help keep your pool clean, balanced, and ready to enjoy. Our maintenance services can include routine cleaning, water care, equipment checks, and ongoing support so you can spend less time worrying about your pool and more time enjoying it.
Do you offer pool remodels?
Yes. Sunset Pools offers pool remodels to help update, refresh, or completely transform your existing pool. Whether you are looking to replace tile, coping, plaster, decking, add new features, or give your backyard a more modern look, we can help bring new life to your outdoor space.
